The Recipe / Tiramisu Cupcakes
Cake:
- 1-1/2 cups flour
- 1-1/4 t. baking powder
- 1/4 t. salt
- 1/2 cup butter
- 1 cup sugar
- 2 eggs
- 2 t. vanilla
- 1 cup milk
Syrup:
- 1/2 cup cold espresso or strong coffee
- 2 t. dark rum (or 1 t. rum extract)
Frosting:
- 8 oz. mascarpone cheese
- 1/3 cup sugar
- 1/2 cup heavy cream
- 2 t. vanilla
- 2 t. dark rum (or 1 t. rum extract)
- cocoa powder, for dusting
Preheat oven to 350 ̊F. Line 12 cup muffin pan with paper liners and spray top with baking spray. Set aside
1. In medium bowl, combine flour, baking powder and salt. Set aside.
2. In mixing bowl, cream butter and sugar together for 5 minutes, until light and fluffy.
3. With the mixer on low speed, add the eggs one at a time, then the vanilla. Scrape the bowl down, making sure to get all the butter into the center of the bowl. Let the mixer spin for a few seconds so everything can combine.
4. With the mixer on a slow speed, add a third of the flour, half the milk, repeating until you've added all the milk and flour. Once the batter comes together, stop the mixer, scrape down the bowl and let it beat for just a few more seconds. Take a spatula and do a final mix down.
5. Using a large cookie scoop, divide the batter evenly into the cupcake wells, filling them about 2/3 full. Bake for 20 minutes, testing with a toothpick for doneness. Let cupcake sit in pan, on a cooling rack, for 5 minutes. Then remove them carefully with a fork onto the rack.
6. While the cupcakes are still warm, use a toothpick and poke about 12 holes into each cupcake, making sure the toothpick touches the bottom of the cake.
7. In a small bowl, mix the espresso and 2 t. dark rum. Slowly spoon this mixture on top of the cupcakes, so that it soaks into the cake. Use all the espresso-rum mixture and try to cover the as much of the surface area of the cupcake as possible. Let the cupcakes sit and cool for another hour.
8. When the cupcakes are completely cool, it's time to make the frosting. In a mixer, cream together the mascarpone cheese, sugar, heavy cream, vanilla and rum on a low speed. Once the ingredients come together, turn the speed up to high and whip until the frosting is very thick.
9. Place frosting in a piping bag with a large tip. Pipe the frosting on top of cupcakes, leaving a little edge of the cake showing. Then sprinkle the tops with a dust cocoa powder.
These cupcakes must be stored in the refrigerator.
 |
| the salt and baking powder in my teeny dishes |
 |
| cubed butter |
 |
| Pure vanilla from Mexico and sugar for the cupcake |
 |
| spritzed the pan to ensure no sticking |
 |
| my mixer and spatulas, ready to go! |
 |
| 1 cup of milk |
 |
| espresso, cooled |
 |
| recipe calls for dark rum, but I used my bff instead |
 |
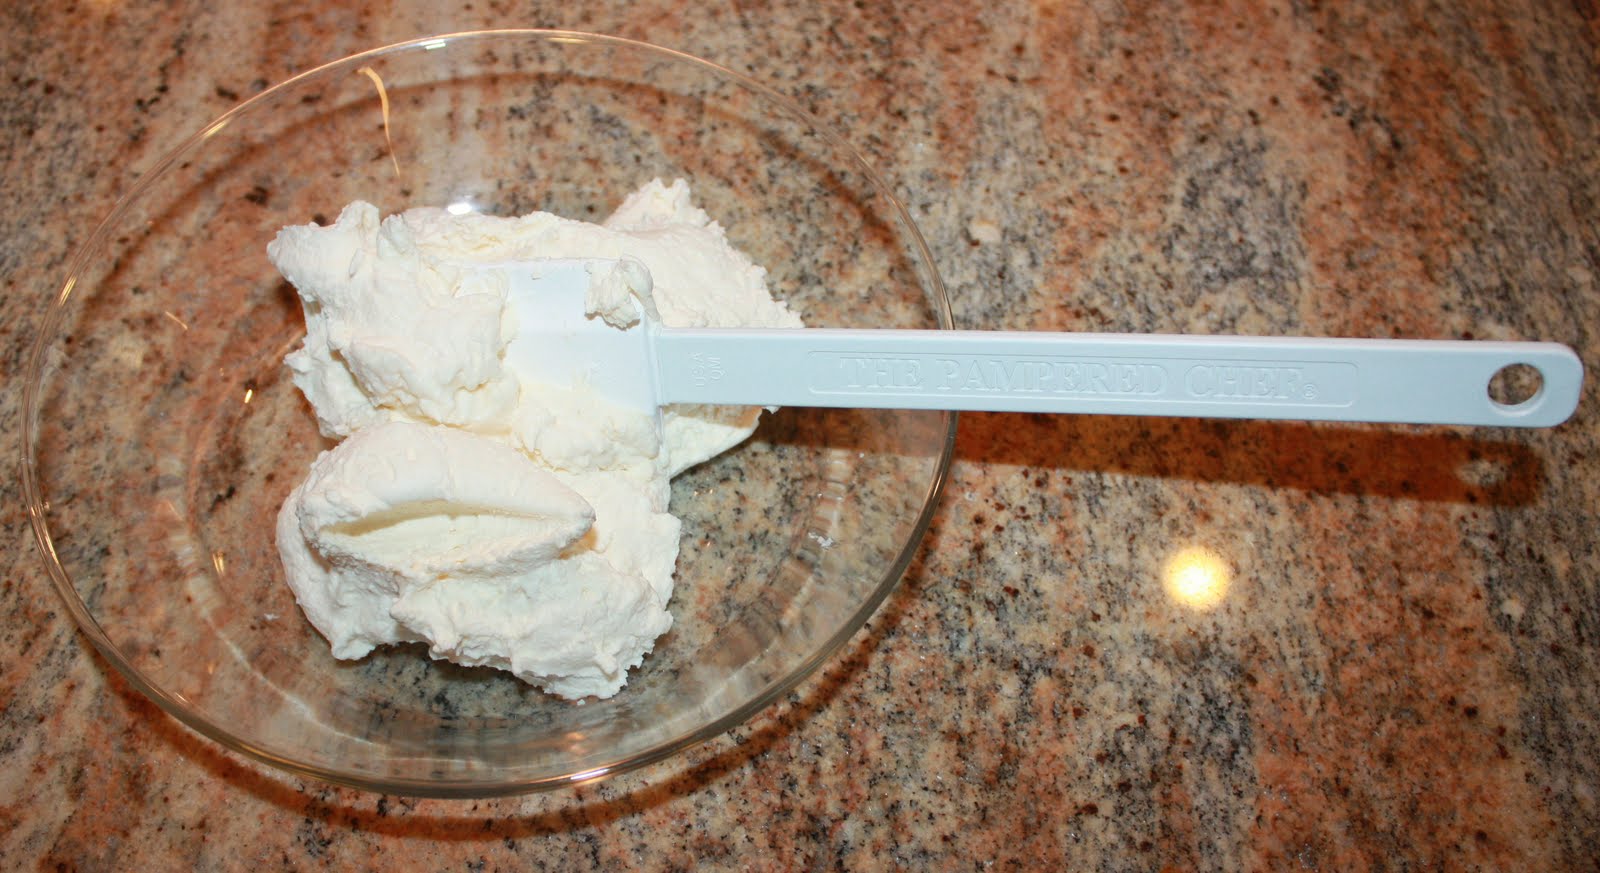
| marscapone, an Italian cream cheese. mmmmmmmm! |
 |
| heavy cream |
 |
| cocoa powder |
 |
| two organic, grain fed, free range eggs. Just kidding, they're standard. |
 |
| creaming the butter and sugar |
 |
| smooth batter |
 |
| apparently a little less flour landed in my batter than was supposed to! |
 |
| Enough batter left over for a tray of mini cupcakes too |
 |
| The large cupcakes |
 |
| Popped them in the oven. Anyone who critiques a double oven has never enjoyed energy conservation while baking cupcakes! |
 |
| A beautiful blend of what wakes you up in the morning, and what helps you relax in the evening. |
 |
| A fairly large tip for frosting |
 |
| I tried this handy "bag in the cup" technique this time, and liked it. |
 |
| Adding cream to my marscapone frosting |
 |
| Next comes vanilla |
 |
| Rum! |
 |
| It is so fluffy |
 |
| Cupcakes were poked with a fork because I had no toothpicks. |
 |
| All coated with espresso and rum. |
 |
| MMM, more marscapone goodness |
 |
| 1st try. I didn't like how my cocoa plopped onto this one so I used a tea infuser to sprinkle the rest of the cocoa. |
 |
| Easy to fill my icing bag this way! |
 |
| Mini muffins all decked out |
 |
| Finally, a use for this old tea infuser that Claire totes around |
 |
| I CANNOT explain how nummers these are |
 |
| The large cupcake batch |
 |
| finished up on my makeshift cooling rack, an inverted pizza pan. |
 |
| Don't you wish you were tasting this? |
What I learned:
Measuring everything out before hand is very calming for me.
I need dark rum.
Something appears slightly too soft with my marscapone frosting. Maybe I whipped it for too long, or too briefly?
And lastly, I think I'll double the rum and espresso mixture next time because I did use all of the batter and could have used more coffee to fully saturate all the muffins that I made. Paul suggested playing with a coffee liqueur next time.
Overall, LOVED baking from scratch and truly do want to use organic, grain fed, free range eggs next time!