Have Your Cake & Eat it Too!

As a Mommy of three and wife of 11 years, my daily routine is a whirlwind. In an effort to carve out some "me time" and explore a creative outlet, I have picked up a new hobby. Baking! This blog highlights my journey into baking and chronicles my sporadic adventures.
Showing posts with label cupcakes. Show all posts

Monday, October 31, 2011

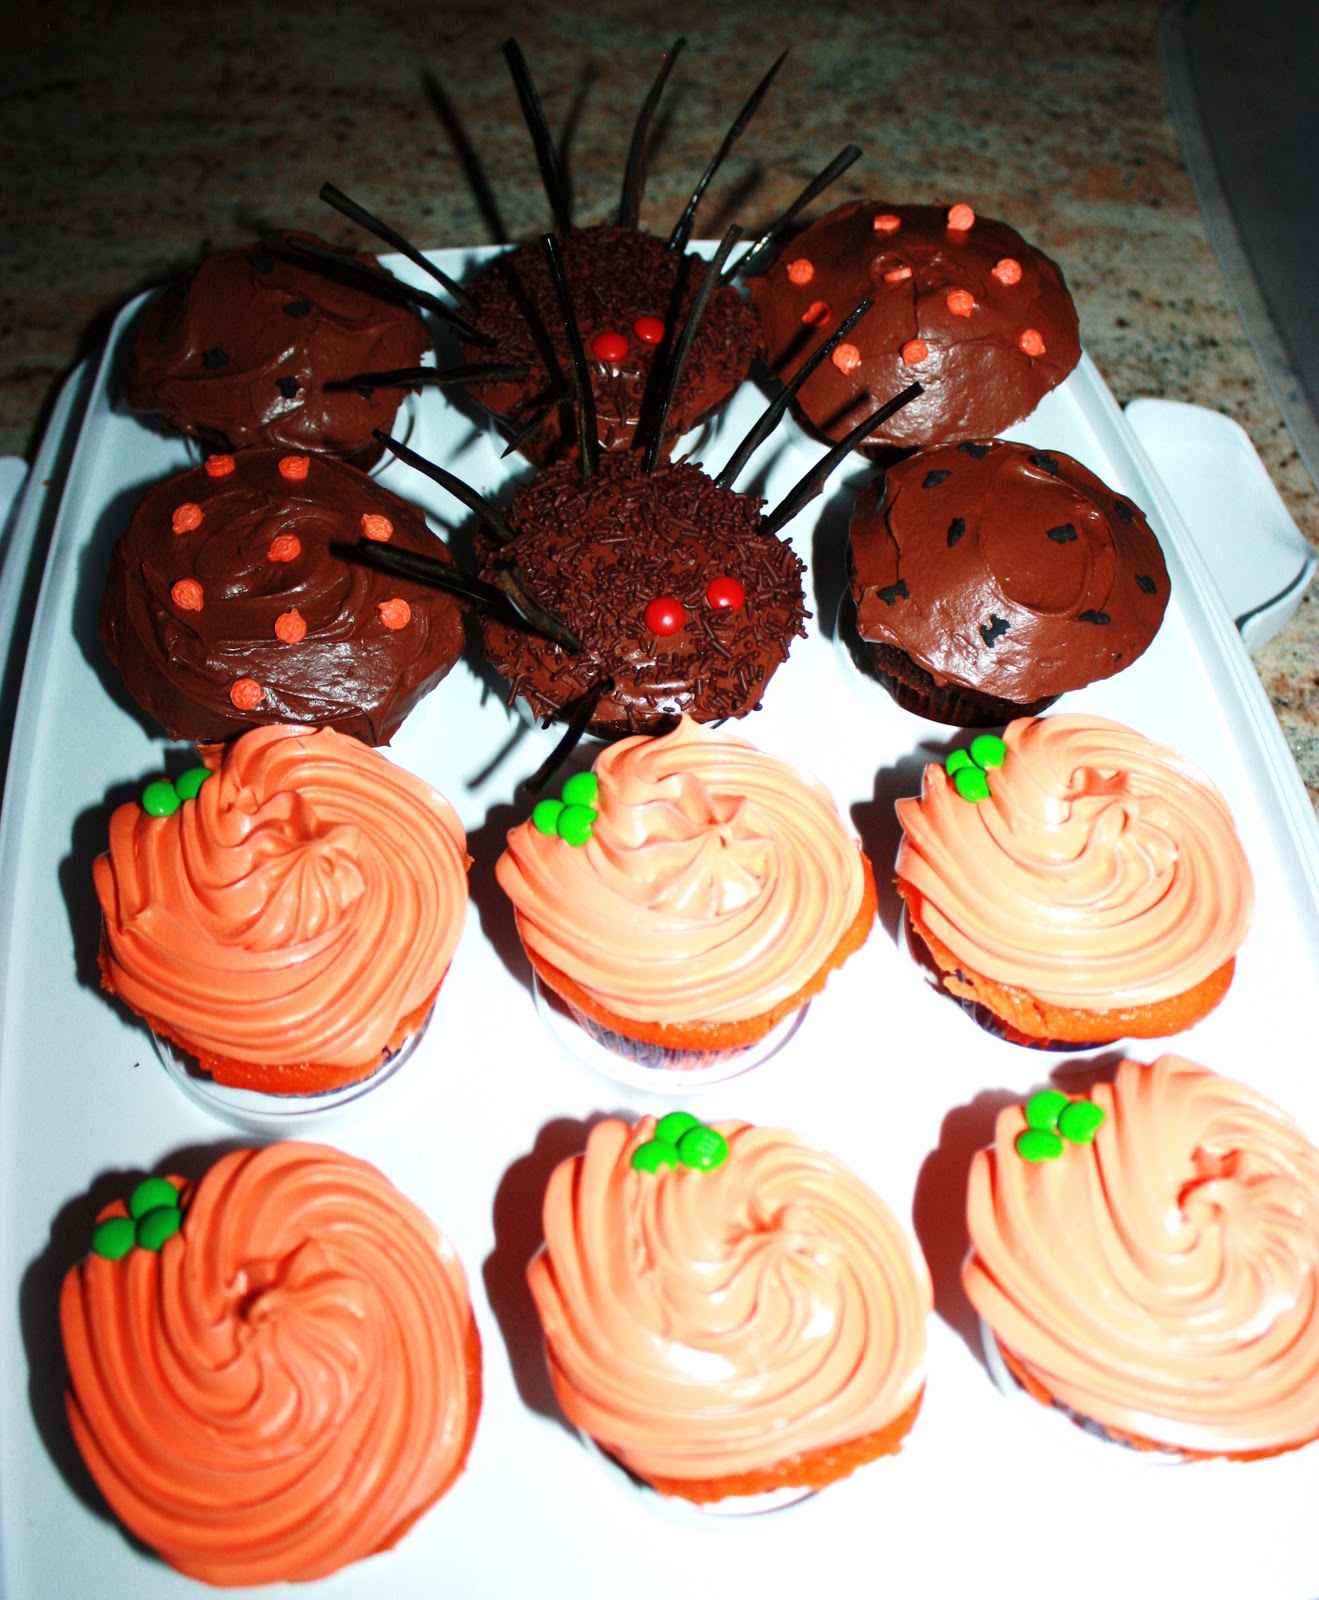
Halloween Cupcakes ~ Pumpkins and Spiders

I had a few kiddies coming for a playdate today as well as my annual Halloween party for the daycare so I used cake mix and Betty crocker frosting to whip up these cupcakes quickly for the kids. 
For these simple pumpkins I used white cake mix and fluffy white frosting.  Used my orange food colouring on both and swirled the icing on in a circular motion.  Added tiny M&M's for a leaf.  Easy peasy.

For the spider, chocolalte cake mix and icing.  I was supposed to use shoestring licorice for the legs but couldn't find it anywhere so I cut my own.  At least the legs look hairy, I guess.  Sprinkles for the spider hair and red M&M minis for the eyes. 

I had to use my cute pumpkin and Bat non pariels too so the last chocolate cupcakes got those.

MMMMMM, fun and tasty. 

Sunday, October 23, 2011

Boston Cream Pie Cupcakes

I found this recipe on The Harwood Podcast and subsequently it won my cupcake poll on facebook.  It's about time I try this one!

Harwood Podcasts The Cupcake Show says:  "Little sponge cakes filled with vanilla cream and topped with chocolate ganache. It's just like a big Boston Cream Pie, just smaller!"
- Recipe -

Cake:


1/2 c. cake flour
1/4 c. flour
1 t. baking powder
1/4 t. table salt
3 T. milk
2 T. unsalted butter
1 t. vanilla extract
5 eggs
12 T. granulated sugar (divided into two 6T. portions
Cream Filling:
1 (4.6 oz. package) ready to cook vanilla pudding
3 cups milk (2% or whole)
1/2 cup heavy whipping cream
1/2 t. vanilla
2 T. sugar
Chocolate Ganache Glaze:
1/4 c. heavy whipping cream
1 c. semi-sweet chocolate chips
2 t. light corn syrup
For Cake:
Preheat oven to 350 degrees. Line muffin pans with cupcake liners.
1. Whisk flours, baking powder, and salt in a medium bowl. Heat milk and butter in asmall glass measuring cup in the micro wave. Use 10 second bursts until the buttermelts. Remove from heat and add vanilla.
2. Separate 3 eggs, putting the whites in a bowl and the yolks in another bowl. Place thewhites in the mixer with the whisk attachment and beat on high speed until foamy. Slowlyadd 6 T. of the sugar & continue to beat whites to soft, moist peaks. Transfer the eggwhites to a large bowl.
3. To the egg yolks bowl, add 2 whole eggs. Place the yolk/whole egg mixture to themixing bowl. Beat yolk/whole egg mixture with remaining 6 T. sugar. Beat on medium-high speed for 5 minutes, until the eggs are very thick and a pale yellow color. Add thebeaten eggs to the egg whites bowl.
4. Sprinkle flour mixture over beaten eggs and whites; fold very gently 12 times with a large rubber spatula. Make a well in one side of batter and pour milk mixture into bowl. Continue folding until batter shows no flour and whites and milk is mixed in.
5. Scoop the batter into the cupcake pans. Bake 12 minutes.
6. Immediately run a knife around the cups to loosen the cupcakes. Remove the cupcakes and let them cool on a rack.
For Pastry Cream Filling:
1. Mix the pudding mix and milk in microwave for 15 minutes, stopping to stir every 5
minutes. Cool.
2. In mixer, whip cream with sugar and vanilla until cream is stiffened.
3. Once pudding is cooled, fold 2 cups into the whipped cream. Refrigerate until ready to fill the cupcakes.
For Chocolate Ganache Glaze:
1. Heat cream, chocolate and corn syrup in small saucepan over low heat. Stir until
chocolate is melted.
Assembly:
1. Cut dime-sized circles out of the tops of the cupcakes. Fill a zip bag with the pastry cream filling and cut the corner off the end of the bag. Pipe the cream into the cupcakes. (If it will be a few minutes before you put the glaze on top, put the filled cupcakes in the refrigerator, until youʼre ready to finish them.)
2. Spoon the glaze over the tops of the cupcakes. Make sure to refrigerate the cupcakes until you're ready to serve them. When you are ready, let them sit out for 5-10 minutes to take the chill off.

Monday, September 12, 2011

To add Maltesers, or NOT add Maltesers....THAT is the Question.

Paul came home with a french vanilla cake mix and a large bag of maltesers.  His excitement was pretty high because he spent a while at work having the legendary "What dessert would you eat for the rest of your life, if you could only choose one dessert." epic conversation.  Somewhere along the way, a colleague mentioned that she adds maltesers to her cupcakes and it's WONDERFUL. 

So I got the kids cracking on whipping these up for Daddy.  If you ask me, I would have gone in a reeses peanut butter cup, hershey's kiss or even a Rolo kind of direction for the melty goodness...but who am I to judge? 


In the end, I found the contrast of a crunchy center to be a bit strange.  I would definitely repeat this with something softer in the future though.

Wednesday, July 6, 2011

Dora & Bat cupcakes for daycare Birthday Parties.

Too much celebration?  NEVER.  Besides, I wanted to test two colours of cake layered and see if it really works just poured into the baking cups.  My bucket list has a rainbow cake project on it, so this was a chance for me to get my feet wet.

Griff chose bat cupcake cups so we decorated with orange icing and chocolate chips

Clearly left over from halloween but my kid is a big Nightmare before Christmas fan, so these worked.

1st attempt at layering two shades of batter.  Not a bad result.

Griffin eagerly trying to eat up his macaroni and cheese so he can have a cupcake and fruit.

Claire was very excited to get her little hands on a Dora topper.  She finger painted icing all over the tabletop, but didn't eat a bite.

Have I mentioned how much I love this cupcake carrier?

Claire ran off with one of my mini Dora's, so I had to use a Royal icing Dora head on one of these.

Sunday, May 22, 2011

Snowball Coconut Cupcakes

- Recipe -
Cake
● 1 egg● 3 egg whites
● 1/3 cup cream of coconut (make sure to mix it well in the can)
● 2 T. water
● 1 t. vanilla extract
● 1 cup cake flour
● 1/2 cup sugar
● 1-1/2 t. baking powder
● 1/4 t. salt
● 6 T. butter, cut into small dice
● 1 cup packed sweetened shredded coconut (about 8 ounces)
Coconut Flavored Whipped Cream:
● 1/2 cup heavy cream
● 1 T. sugar
● 1 t. coconut extract
Preheat oven to 325 degrees. Line 12 cup muffin pan with cupcake liners.
I enjoyed polling my facebook friends to determine what cupcake recipe to try next.  I learned that That Takes the Cake isn't a democracy.  What can I say?  I went with a recipe that I had all of the ingredients for.  Results of the poll to be posted.  Technically this fabulous recipe requires a cream cheese frosting, but I adapted it into a flavoured coconut whipped cream instead because I had whipping cream in the fridge.  These cupcakes are chock full of real coconut and incredibly delicous.
1. In large measuring cup, add whole egg, egg whites, cream of coconut, water & vanilla. Mix together well. Set aside.
2. Combine flour, sugar, baking powder, and salt in mixer bowl. Add butter a bit at a time, and mix until butter is pea-sized.
3. With mixer still running, add the egg/cream of coconut mixture. Mix until light and fluffy on medium speed, about 3 minutes. Add shredded coconut and mix until just combined.
4. Divide batter in cupcake pan. Bake for 25 minutes.
5. Cool pan for 5 minutes, then remove cupcakes to rack to cool completely.
To Make Flavored Whipped Cream:
1. Beat the heavy cream, sugar and extract until soft peaks form.
2. Then spoon or pipe the whipped cream on top of the cupcakes.
Note: If you're going to pipe the whipped cream on, make a double recipe of whipped cream.
When you're ready to frost the cupcakes, put the 1-1/2 cups of coconut into a medium bowl. Frost the cupcakes with the icing, then dip each cupcake, upside down, into the bowl of coconut, making sure to coat the top completely.

Snowball cupcake Ingredients

Make note:  Recipe required Cream of Coconut (thick and textured, used in pina coladas), I used Coconut cream (cream consistency yet flavourful)

Pour wet ingredients into measuring cup

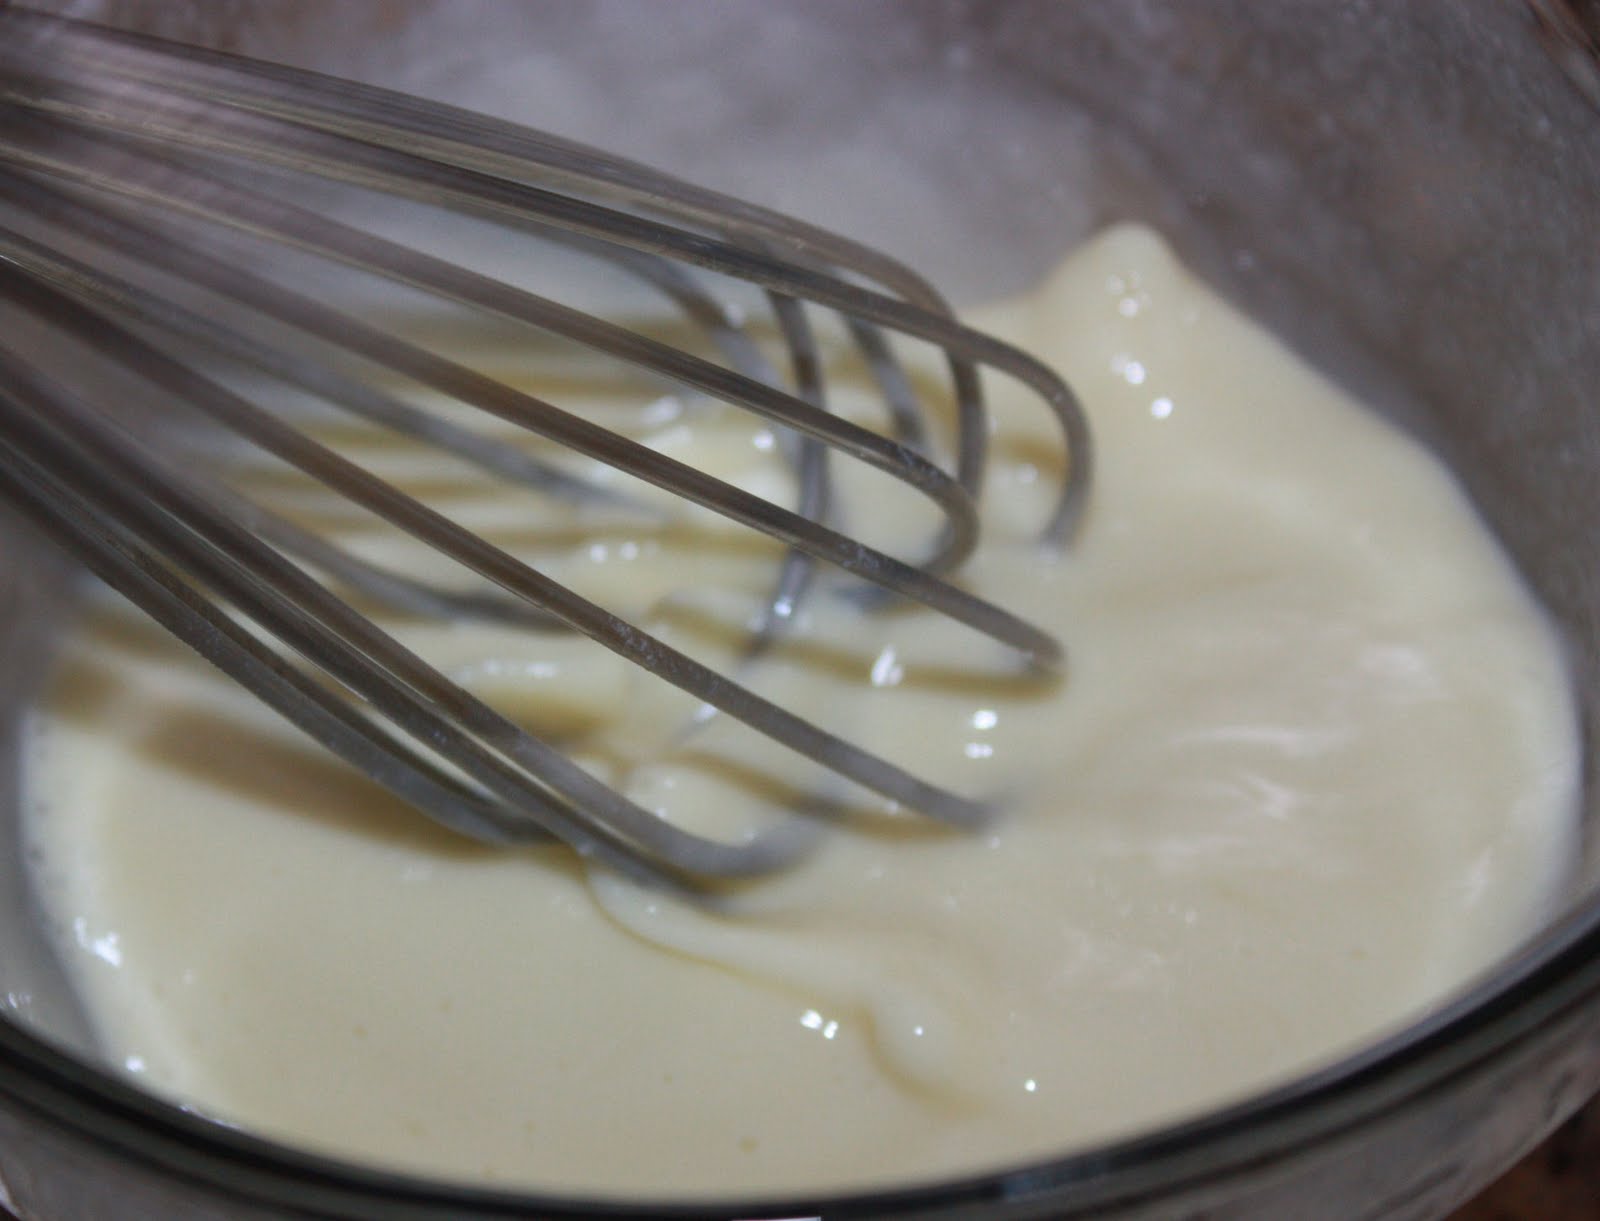
whisk them around

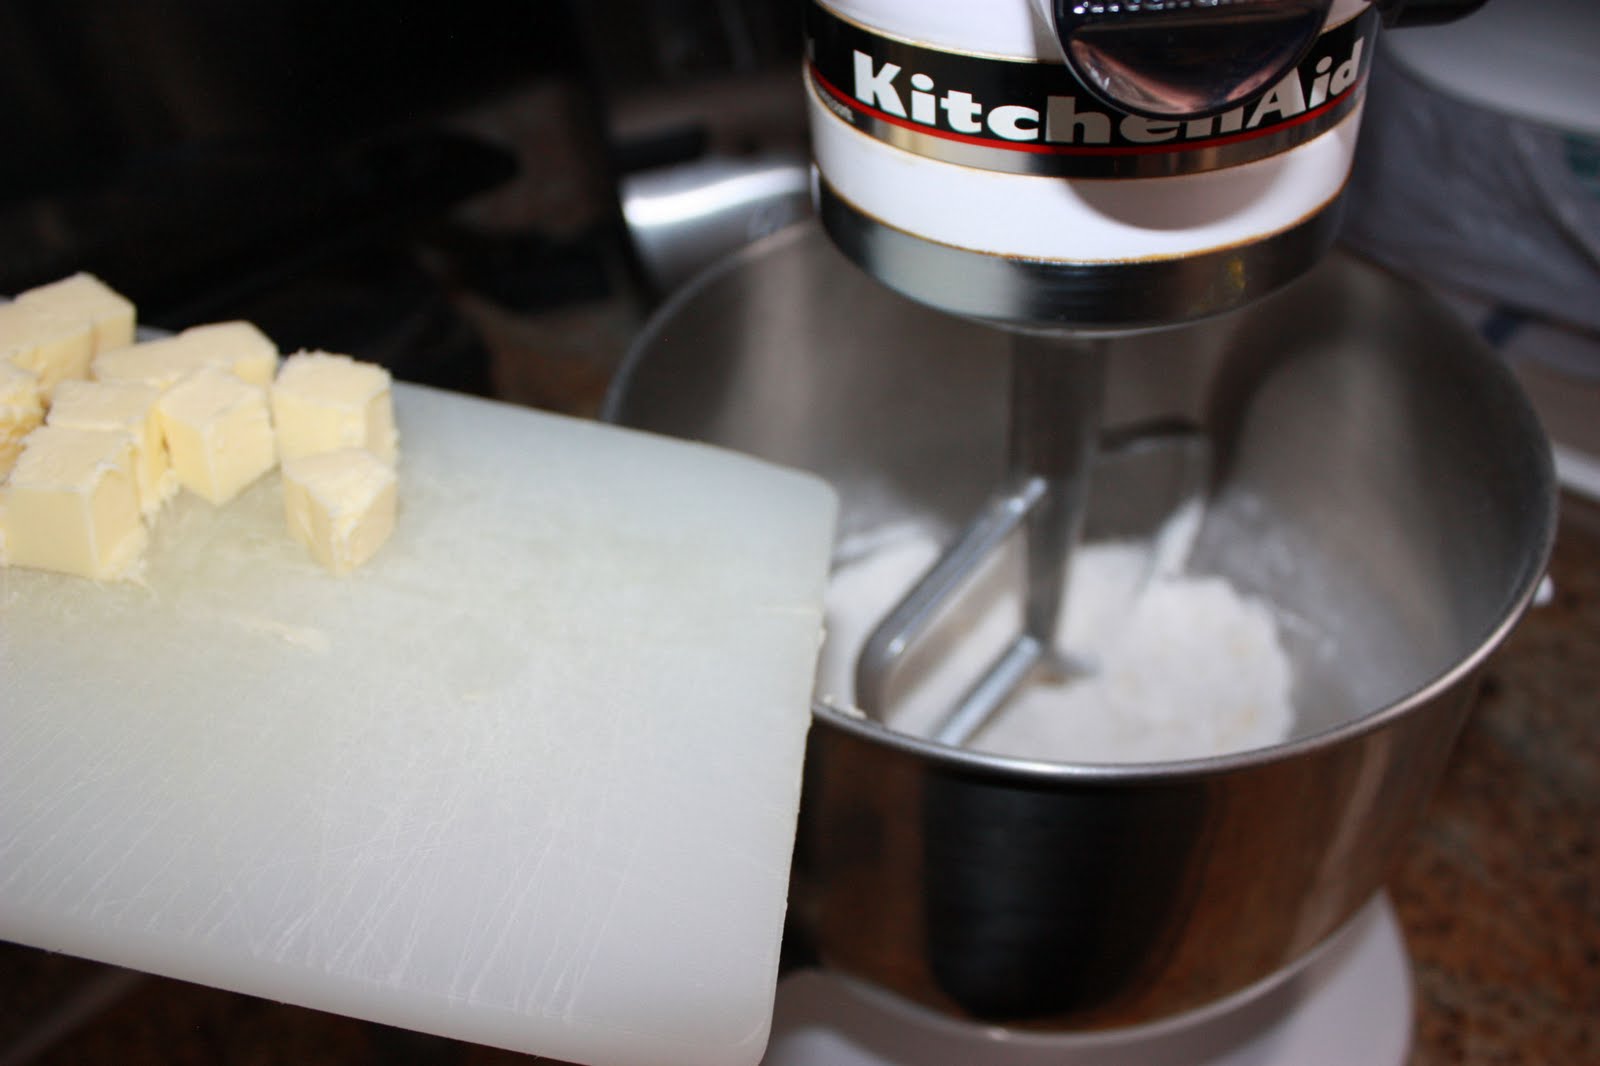
gradually add dice cubes of butter

gradually adding wet ingredientsn to butter and dry ingredients mixture

SO-MUCH-COCONUT!

This is what makes the cupcakes amazing

See how dense the batter is?

This is what I used for icing.  Whipping cream, coconut flav and teeny bit of superfine sugar

Just a small amount.  It whips up nicely.

These are lightly done.  Mommy can't risk burning these or my kids won't touch them with a 10 foot pole.

Icing almost complete

SOMEBODY got some cooling racks!

This is what they'll look like dipped in coconut

But be sure to whip your whipped topping to a stiff consistency to hold all that coconut on

Proud to say I took this picture with my chin.

Dip in a bowl of coconut.  Fluff coconut between dips.

PERFECTION

For variety, I piped some whipped cream onto half and sprinkled with coconut for a more mild coat.

The finished batch!

The biggest fan of these cupcakes

My son testing one out

This little lady proceeded to crumble it and throw it all over the floor. 
Don't let that stop you from trying these out.  They're great, despite her masacre of the cupcake.

Tuesday, May 3, 2011

Angelfood Cake FAIL ~ A Boxed Mix to Boot

Overcome with the temptation to whip up a sweet treat after refusing to feed my children caffeine and rum laden tiramisu cupcakes, I whipped out the nearest cake mix and decided to try an angelfood cake.  My Mother in Law had recently given me a neat pan that would work well for this type of cake, so it was a done deal.  With the toddlers eating their lunch, I just added water and got to the mixing and picture taking for your viewing pleasure.  I had hoped to make an amazing Italian Meringue Buttercream from scratch to accompany it, but let's just say...we didn't get there.

Skip to the part where the babies were finished with their lunches, washed up and ransacking the family room.  With a few minutes left for the cake to finish, I took advantage of the time allowance to "help" them tidy up.  This involves a whole lot of me singing and doing huge gestural movements to model the "how to's" of cleaning.  In the end they pass me a couple more and throw the odd toy back into the mix.  Today was a little hairier than usual and while two of us were tidying on one side, two more were dumping on the opposite side.  I lost track of my Angel food cake. 

Lesson learned:

Timing is everything.
I can't wait for my kids to be old enough to wash dishes.  These cupcake pans were a disaster.

Here are the results:

Betty Crocker Angel Food Cake mix.

Love this new measuring cup.  Readable from the inside.

The pan handed down from my Mother in Law.  Recipe called for a 3litre pan, but mine is more of a 1 litre pan.

Whipping it up

I should have just let the babies fingerpaint with this loveliness!

Filled the pan

Had plenty leftover to try these, although there were no cupcake instructions on the box. 

This is the ladle I always use for batter.  The directions specifically said "ungreased pan".

At least I can say we were off to a good start.  The whole process was super quick.

Popped into the oven.

Beginning to rise.  I left to tidy up.

Oops.  Angelfood Jerky.

At least the cake looks good!

Oops, even the cake needed less time.

But it was white on the inside.

And I ate a bunch that I ripped off before chucking the burnt stuff.  Mmmm, warm cake mess goodness.  It's a shame I wrecked it.