Have Your Cake & Eat it Too!

As a Mommy of three and wife of 11 years, my daily routine is a whirlwind. In an effort to carve out some "me time" and explore a creative outlet, I have picked up a new hobby. Baking! This blog highlights my journey into baking and chronicles my sporadic adventures.
Showing posts with label wilton. Show all posts

Tuesday, July 5, 2011

Dora Fiesta Dress Cake for Claire's 2nd Birthday

Here is the Dora Fiesta Dress cake that I made with my Wilton Wonder Mold pan.
Time to scratch another project off of my list.  Here she is!

I removed my frozen cake from the freezer and let it defrost.  Set it atop a foil covered lazy suzan with parchment paper pieces tucked under it.

The Dora Accessory

The ingredients for Buttercream Icing as specified in my Wilton Basics book.

I went with half butter and half crisco instead of all shortening.  It ended up somewhat soft this way.

Creamed it in my mixer.

Used an old damp dishtowel to keep the icing sugar from flying all over the kitchen.

Looks great!  But I forgot to divide it in two, and mistakenly dyed it all purple so my Fiesta Dress cake was monochromatic. 
There were supposed to be orange ruffles also.

Beginning to apply the icing.

Love the Wilton Icing applicator!

It was 11pm so I decided on an easier version and made these upward pleats instead of filling the entire skirt with piped ruffles.

Bottom ruffles complete.  I added silver balls to make up for my lack of orange icing.

Certainly not perfect but you can see that my piping along the bottom WAS flat before I pulled my paper pieces back out.

Hola Amigos!  Top ruffles complete. 

Stained my hand too.

Special cake for my sweethearts second birthday!

Sunday, May 8, 2011

1st Layer Cake ~ Trying my hand at cake levelling

Happy Mother's Day to me!  My family bought me a set of Pyrex bakeware for Mother's Day.  It's not in yet, but I know about it since I picked it out myself.  HOW ORIGINAL!  Perfect gift for the budding baker.  Thanks family!  I'm especially thankful for all of the amazing little hand crafted pieces of artwork from my children.  These kids rock.

Lots of together time today.  Breakfast feast with my own Mommy.  A drive to take in some countryside.  Some yardwork and outdoor play.  And alas, some baking. 

Lily was my partner in crime today.  When all was done, Griffin asked for a piece and said "Hey Dad!  When it's Father's Day, the boys will bake a cake together too!"  and my heart broke in an instant.  He felt left out.  Waaah!  So I reassured him that my next baking project with be with him alone.  Silly Mommy thought he was having fun with his outside time.  My son, I could go on forever...but I digress. 

I really just wanted to try my hand at two particular things today.
A)  Levelling cakes. 
B)  Smoothing Icing with a sheet of paper.

Here are the pics and captions of the day.
Two 8" white cakes

I'm still learning.  These were slightly cracked.  Still delish.

I fooled around with a mixture of icing and mandarin oranges.  I ended up not using this. 
I'll use whipped cream with the oranges next time.  Or vanilla pudding?

My first levelled cake.  I used this big knife instead of the Wilton levelling device. 
Saved the cake tops for future cake pops.

Making a damn around to keep the filling from spilling over.

Chocolate pudding

All spread

The top layer levelled, and then set upside down on our chocolate pudding filling.

My Wilton Cake Icer and 16' featherweight bag.

First time trying this out too. 

I had a lot of bubbles.  No biggie though.

Smoothing it out with the spatula

Using some letterhead to attempt smoothing the layer after 10 minutes. 
In this case, 10 min wasn't long enough to create a crust and this method didn't work for me. 
Boo hiss!

Tried it with wax paper to see if I'd have a different result.  Still didn't work.

Handed things over to my girl on Mother's Day.

Making pink flowers

Not sure how this jumped so far into the pics, but Lil tinted her own icing.

Cute border of flowers.  Not bad for a 7 year old!

Adding some yellow nonpareils for the centers.

Pink nails!

Starting to feel like spring!

Some of her finished flowers

Working on the lettering now.  This is where it got funny.

GOT to love this cake.

I better not find this on Cake Wrecks!  For a 7 year old, this is a Cake Masterpiece!

Thursday, April 21, 2011

Wish List

PANS
Wilton Cupcake Pan

Alphabet Cake pan

Mini muffin pans

3 pc Diamond pan set

3 pc Paisley Pan set (I just saw these at Walmart and they're TDF!!)

Tasty Fill Cake pan

Wonder Mold Kit

SPRINKLES, COLOURS & SUGARS
Nonparils:
Edible Glitter:
Wilton Candy Eyeballs
Pearlized Sugar
Sugar Pearls
Pearlized Jimmies
Some kind of sprinkles organizer system
Dora Icing Colors set

STANDS
Cupcake stand for 23

BAKEWARE
Egg Separator  so far I'm using the good ole shell to shell method.
Flour / Sugar Shaker
Stackable Cooling Racks
Wilton Candy thermometer
Stainless steel bowls

FONDANT
Butterfly punch
Leaf plunger cutter
Leaf 4 pc plunger set
Alphabet cutters set

Monday, April 18, 2011

The Maiden Voyage ~ Easter Cupcakes

I took advantage of naptime today to embark on my cupcake decorating maiden voyage.  I really should have read some instructions first, but instead I simply dove in.  The kids will have fun devouring these pastel cupcakes later on. 

What I used: 

Betty Crocker Yellow Cake Mix, Wilton ready-made decorator icing, Wilton Lemon Yellow, Pink and Violet in the tiniest amounts humanly possible.  I also used some light purple sugar crystals, yellow sprinkles and an Easter themed sprinkle with tiny bunnies, chicks and eggs.  In the end, I started throwing some pastel M&M's on too.  And lastly, some cute pink cupcake cups because I'm too lazy to grease and flour today.  Time is of the essence and this project is about frosting for me.

What I learned: 

~I figured out how to put a coupler on a disposable bag via trial and error.  I also determined that I don't have a coupler large enough for my huge tips, adding that to the "wish list". 

~I decided that when my instincts tell me to avoid overfilling the cupcake cups with batter, I should listen  instead of worrying about wasting batter. 

~I learned that in the future, I may want to consider looking up some tried and true cupcake designs because when left to my own devices, some of these things turned out a bit funky chicken.

~Last lesson of the maiden voyage, is that I should be careful to center my work.  Lots of lopsided results and off center focal points.


Cake Mix this time.  I'll eventually try my hand at some good old fashioned scratch recipes.

Paper cupcake liners, because sometimes less is more.

I think I overfilled the batter a little.

Looking a little flatish.

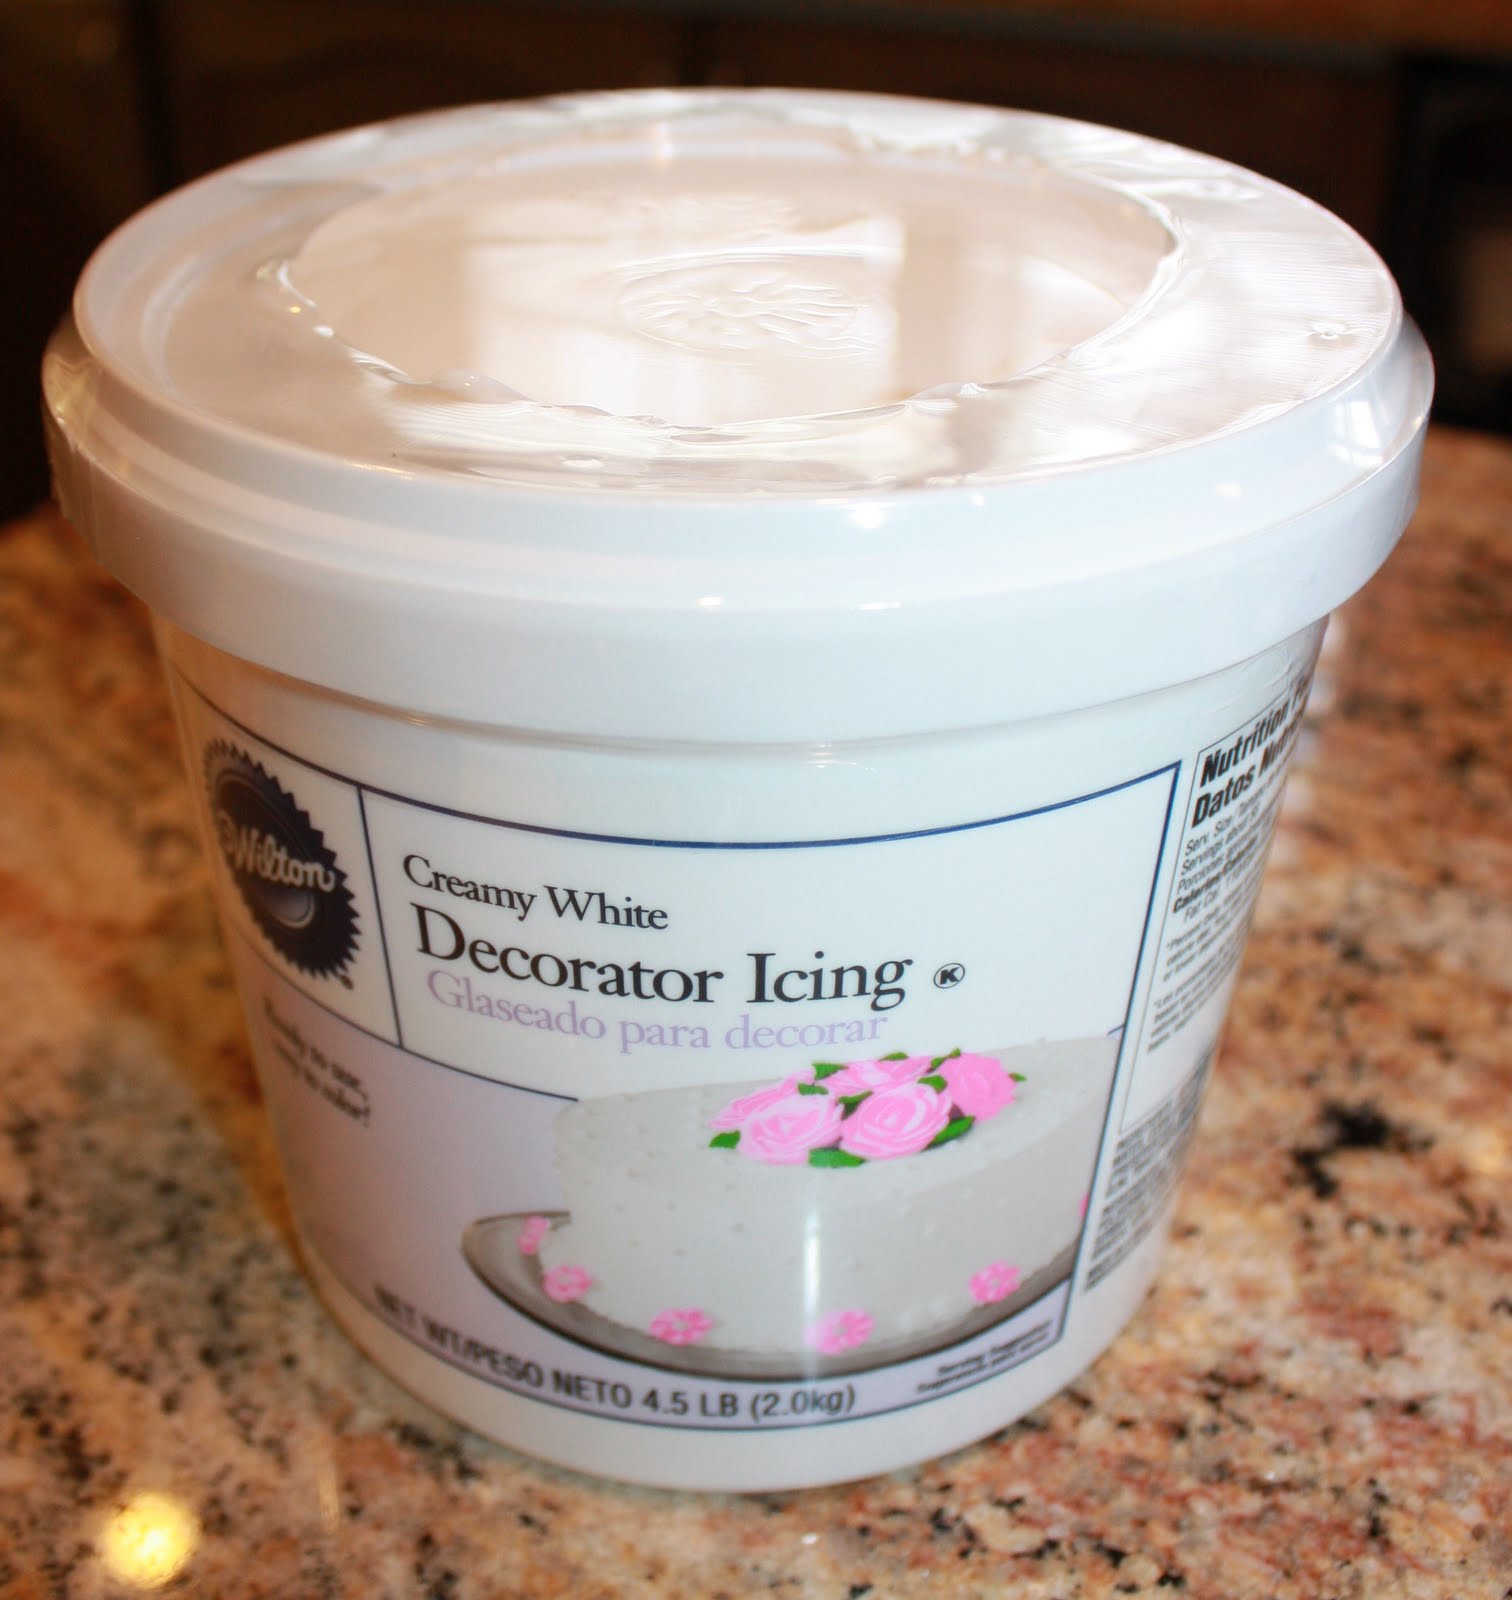
This is the icing required for my Wilton cake decorating class.  So I bought the big one with my 50% off coupon.

The stars of the show...Sprinkles and pastel dye.

My dye is brand new, so I just rubbed whatever was splashed onto the foil that I had to peel off.  As you can see, not much required.

Makes you want Easter candy, doesn't it?

Filling the bags.  This is my first coupler ever.

I got through this whole process without so much as a drip of frosting on my fingers.  Miraculous!

More of me filling the frosting into the applicator.  I had to commemorate the maiden voyage!

My three piping bags and tips ready to go!

I wanted to try the huge one to give a big whirl of frosting.  Then two smaller stars that I will be using in my first class.

From here forward, are my final results.