Have Your Cake & Eat it Too!

As a Mommy of three and wife of 11 years, my daily routine is a whirlwind. In an effort to carve out some "me time" and explore a creative outlet, I have picked up a new hobby. Baking! This blog highlights my journey into baking and chronicles my sporadic adventures.
Showing posts with label Bucket list. Show all posts

Tuesday, December 13, 2011

Red Velvet Bakepop Cake Bites with Chocolate Coating

My Bakepop pans arrived! 

I think there is a little learning curve to this.  I may have overfilled the pan a little which made my cake balls look like mars.  I also overcooked them a bit as an unexpected visit from the carpet cleaning man took place as my cooking time was nearing the end.  But since they weren't officially charred, I decided to go ahead with my first chocolate candy coating dipping of the bites.  I only made about 10 and threw out the rest of the batch because I thought it would taste awful.  As it turns out, everyone was oblivious to the overcookage and this was the most attention I've received over my baking in a LONG time.  Love these pans, the lighter consistency of the cake seems much more tasty than a frosting laden gooey hand rolled cake ball.  WAY cleaner process too.

A few tips:
~ Use cooking spray made for baking with flour in it.
~ Add a complimentary box of pudding to your cake mix (Ie, I added chocolate to go with my red velvet cake mix).
~ Use water instead of milk on the cake box instructions, and half the amount of liquid.

Spray pans, and also spray the top where cake will ooze out.

Add your doctored cake mix.  Use the bakepop instruction booklet.

Close with these little yellow clasps.

Mine seriously oozed out the top.  But, it pops off very easily with a push from a rubberized spatula.

See, ooze is gone.

Wow, they're really balls.  See the bottom left ball?  They almost all had that ridge.  I used a kitchen scissor to quickly trim that off. 
Less tedious than crumbling an entire cake and mixing icing into it.

Finished cake balls.  A bit too crispy and slight smell of burnt cake but not really DARK brown. 

1pkg chocolate candy melts

microwave for 30 second intervals, and stir.  you can add a little crisco if needed but I didn't find it necessary.

My first cake ball ever!

I used a toothpick for all of these.  Not very durable, but doable.

Added some sprinkles.

Dessert is served!

Sunday, October 23, 2011

Boston Cream Pie Cupcakes

I found this recipe on The Harwood Podcast and subsequently it won my cupcake poll on facebook.  It's about time I try this one!

Harwood Podcasts The Cupcake Show says:  "Little sponge cakes filled with vanilla cream and topped with chocolate ganache. It's just like a big Boston Cream Pie, just smaller!"
- Recipe -

Cake:


1/2 c. cake flour
1/4 c. flour
1 t. baking powder
1/4 t. table salt
3 T. milk
2 T. unsalted butter
1 t. vanilla extract
5 eggs
12 T. granulated sugar (divided into two 6T. portions
Cream Filling:
1 (4.6 oz. package) ready to cook vanilla pudding
3 cups milk (2% or whole)
1/2 cup heavy whipping cream
1/2 t. vanilla
2 T. sugar
Chocolate Ganache Glaze:
1/4 c. heavy whipping cream
1 c. semi-sweet chocolate chips
2 t. light corn syrup
For Cake:
Preheat oven to 350 degrees. Line muffin pans with cupcake liners.
1. Whisk flours, baking powder, and salt in a medium bowl. Heat milk and butter in asmall glass measuring cup in the micro wave. Use 10 second bursts until the buttermelts. Remove from heat and add vanilla.
2. Separate 3 eggs, putting the whites in a bowl and the yolks in another bowl. Place thewhites in the mixer with the whisk attachment and beat on high speed until foamy. Slowlyadd 6 T. of the sugar & continue to beat whites to soft, moist peaks. Transfer the eggwhites to a large bowl.
3. To the egg yolks bowl, add 2 whole eggs. Place the yolk/whole egg mixture to themixing bowl. Beat yolk/whole egg mixture with remaining 6 T. sugar. Beat on medium-high speed for 5 minutes, until the eggs are very thick and a pale yellow color. Add thebeaten eggs to the egg whites bowl.
4. Sprinkle flour mixture over beaten eggs and whites; fold very gently 12 times with a large rubber spatula. Make a well in one side of batter and pour milk mixture into bowl. Continue folding until batter shows no flour and whites and milk is mixed in.
5. Scoop the batter into the cupcake pans. Bake 12 minutes.
6. Immediately run a knife around the cups to loosen the cupcakes. Remove the cupcakes and let them cool on a rack.
For Pastry Cream Filling:
1. Mix the pudding mix and milk in microwave for 15 minutes, stopping to stir every 5
minutes. Cool.
2. In mixer, whip cream with sugar and vanilla until cream is stiffened.
3. Once pudding is cooled, fold 2 cups into the whipped cream. Refrigerate until ready to fill the cupcakes.
For Chocolate Ganache Glaze:
1. Heat cream, chocolate and corn syrup in small saucepan over low heat. Stir until
chocolate is melted.
Assembly:
1. Cut dime-sized circles out of the tops of the cupcakes. Fill a zip bag with the pastry cream filling and cut the corner off the end of the bag. Pipe the cream into the cupcakes. (If it will be a few minutes before you put the glaze on top, put the filled cupcakes in the refrigerator, until youʼre ready to finish them.)
2. Spoon the glaze over the tops of the cupcakes. Make sure to refrigerate the cupcakes until you're ready to serve them. When you are ready, let them sit out for 5-10 minutes to take the chill off.

Wednesday, July 6, 2011

Dora & Bat cupcakes for daycare Birthday Parties.

Too much celebration?  NEVER.  Besides, I wanted to test two colours of cake layered and see if it really works just poured into the baking cups.  My bucket list has a rainbow cake project on it, so this was a chance for me to get my feet wet.

Griff chose bat cupcake cups so we decorated with orange icing and chocolate chips

Clearly left over from halloween but my kid is a big Nightmare before Christmas fan, so these worked.

1st attempt at layering two shades of batter.  Not a bad result.

Griffin eagerly trying to eat up his macaroni and cheese so he can have a cupcake and fruit.

Claire was very excited to get her little hands on a Dora topper.  She finger painted icing all over the tabletop, but didn't eat a bite.

Have I mentioned how much I love this cupcake carrier?

Claire ran off with one of my mini Dora's, so I had to use a Royal icing Dora head on one of these.

Tuesday, July 5, 2011

Dora Fiesta Dress Cake for Claire's 2nd Birthday

Here is the Dora Fiesta Dress cake that I made with my Wilton Wonder Mold pan.
Time to scratch another project off of my list.  Here she is!

I removed my frozen cake from the freezer and let it defrost.  Set it atop a foil covered lazy suzan with parchment paper pieces tucked under it.

The Dora Accessory

The ingredients for Buttercream Icing as specified in my Wilton Basics book.

I went with half butter and half crisco instead of all shortening.  It ended up somewhat soft this way.

Creamed it in my mixer.

Used an old damp dishtowel to keep the icing sugar from flying all over the kitchen.

Looks great!  But I forgot to divide it in two, and mistakenly dyed it all purple so my Fiesta Dress cake was monochromatic. 
There were supposed to be orange ruffles also.

Beginning to apply the icing.

Love the Wilton Icing applicator!

It was 11pm so I decided on an easier version and made these upward pleats instead of filling the entire skirt with piped ruffles.

Bottom ruffles complete.  I added silver balls to make up for my lack of orange icing.

Certainly not perfect but you can see that my piping along the bottom WAS flat before I pulled my paper pieces back out.

Hola Amigos!  Top ruffles complete. 

Stained my hand too.

Special cake for my sweethearts second birthday!

Sunday, May 22, 2011

Snowball Coconut Cupcakes

- Recipe -
Cake
● 1 egg● 3 egg whites
● 1/3 cup cream of coconut (make sure to mix it well in the can)
● 2 T. water
● 1 t. vanilla extract
● 1 cup cake flour
● 1/2 cup sugar
● 1-1/2 t. baking powder
● 1/4 t. salt
● 6 T. butter, cut into small dice
● 1 cup packed sweetened shredded coconut (about 8 ounces)
Coconut Flavored Whipped Cream:
● 1/2 cup heavy cream
● 1 T. sugar
● 1 t. coconut extract
Preheat oven to 325 degrees. Line 12 cup muffin pan with cupcake liners.
I enjoyed polling my facebook friends to determine what cupcake recipe to try next.  I learned that That Takes the Cake isn't a democracy.  What can I say?  I went with a recipe that I had all of the ingredients for.  Results of the poll to be posted.  Technically this fabulous recipe requires a cream cheese frosting, but I adapted it into a flavoured coconut whipped cream instead because I had whipping cream in the fridge.  These cupcakes are chock full of real coconut and incredibly delicous.
1. In large measuring cup, add whole egg, egg whites, cream of coconut, water & vanilla. Mix together well. Set aside.
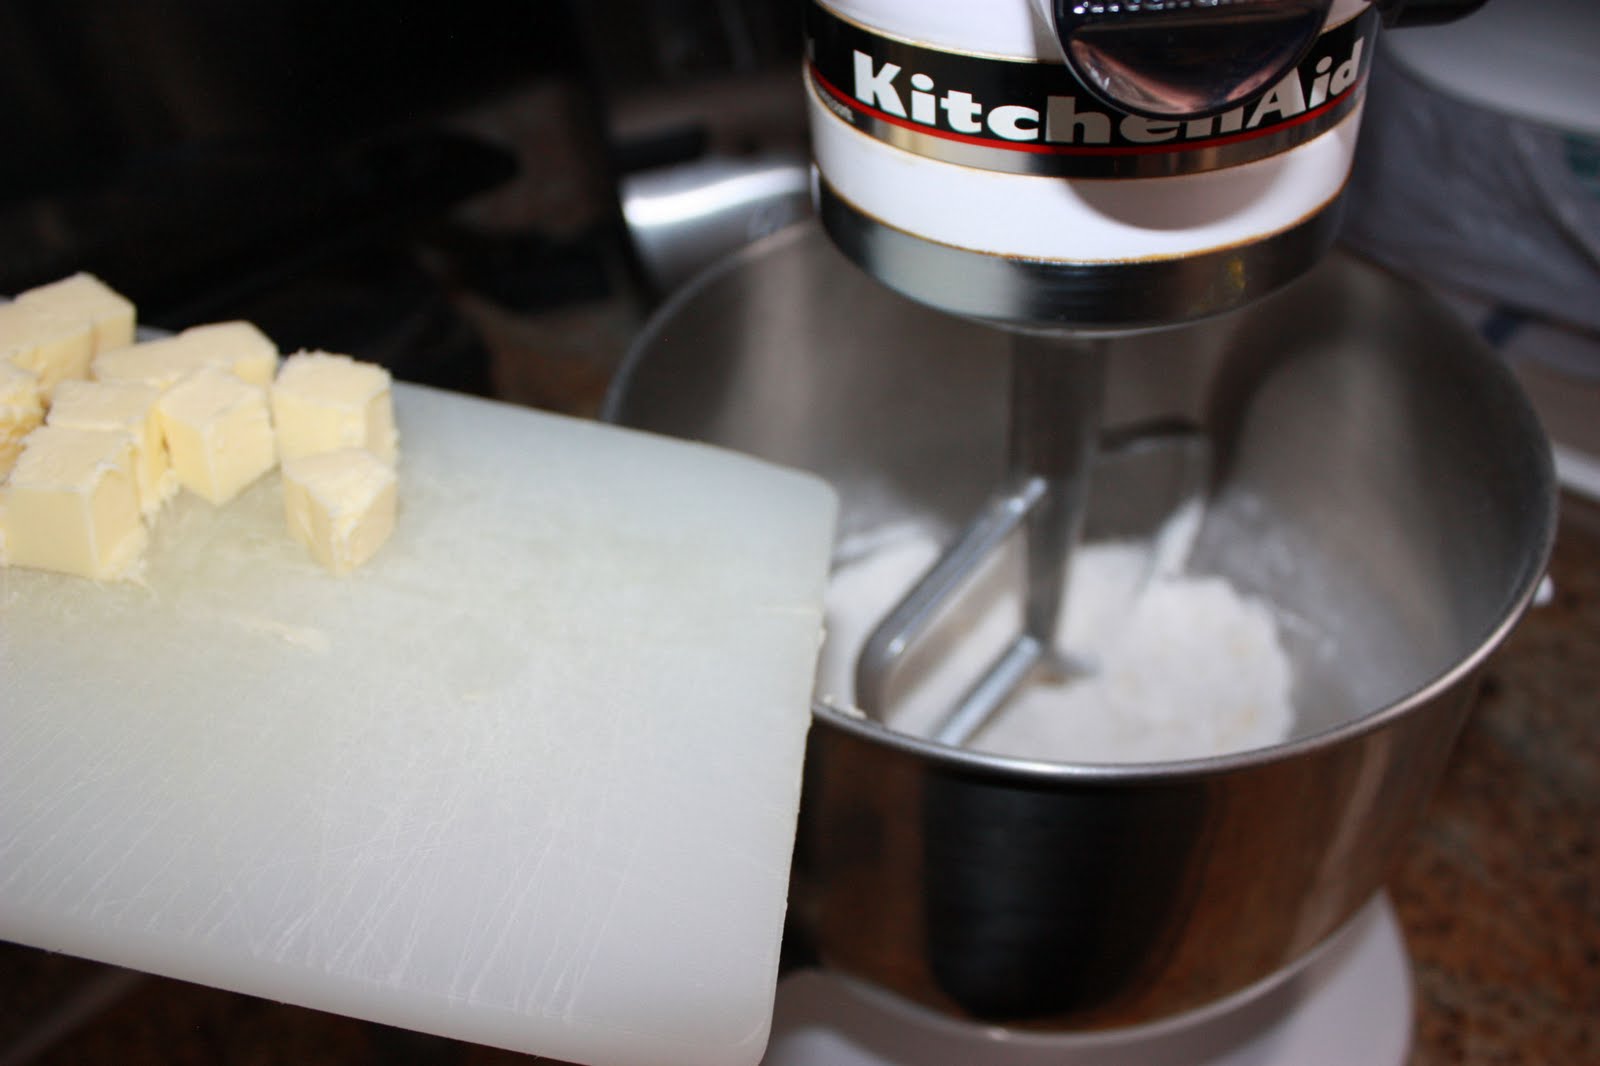
2. Combine flour, sugar, baking powder, and salt in mixer bowl. Add butter a bit at a time, and mix until butter is pea-sized.
3. With mixer still running, add the egg/cream of coconut mixture. Mix until light and fluffy on medium speed, about 3 minutes. Add shredded coconut and mix until just combined.
4. Divide batter in cupcake pan. Bake for 25 minutes.
5. Cool pan for 5 minutes, then remove cupcakes to rack to cool completely.
To Make Flavored Whipped Cream:
1. Beat the heavy cream, sugar and extract until soft peaks form.
2. Then spoon or pipe the whipped cream on top of the cupcakes.
Note: If you're going to pipe the whipped cream on, make a double recipe of whipped cream.
When you're ready to frost the cupcakes, put the 1-1/2 cups of coconut into a medium bowl. Frost the cupcakes with the icing, then dip each cupcake, upside down, into the bowl of coconut, making sure to coat the top completely.

Snowball cupcake Ingredients

Make note:  Recipe required Cream of Coconut (thick and textured, used in pina coladas), I used Coconut cream (cream consistency yet flavourful)

Pour wet ingredients into measuring cup

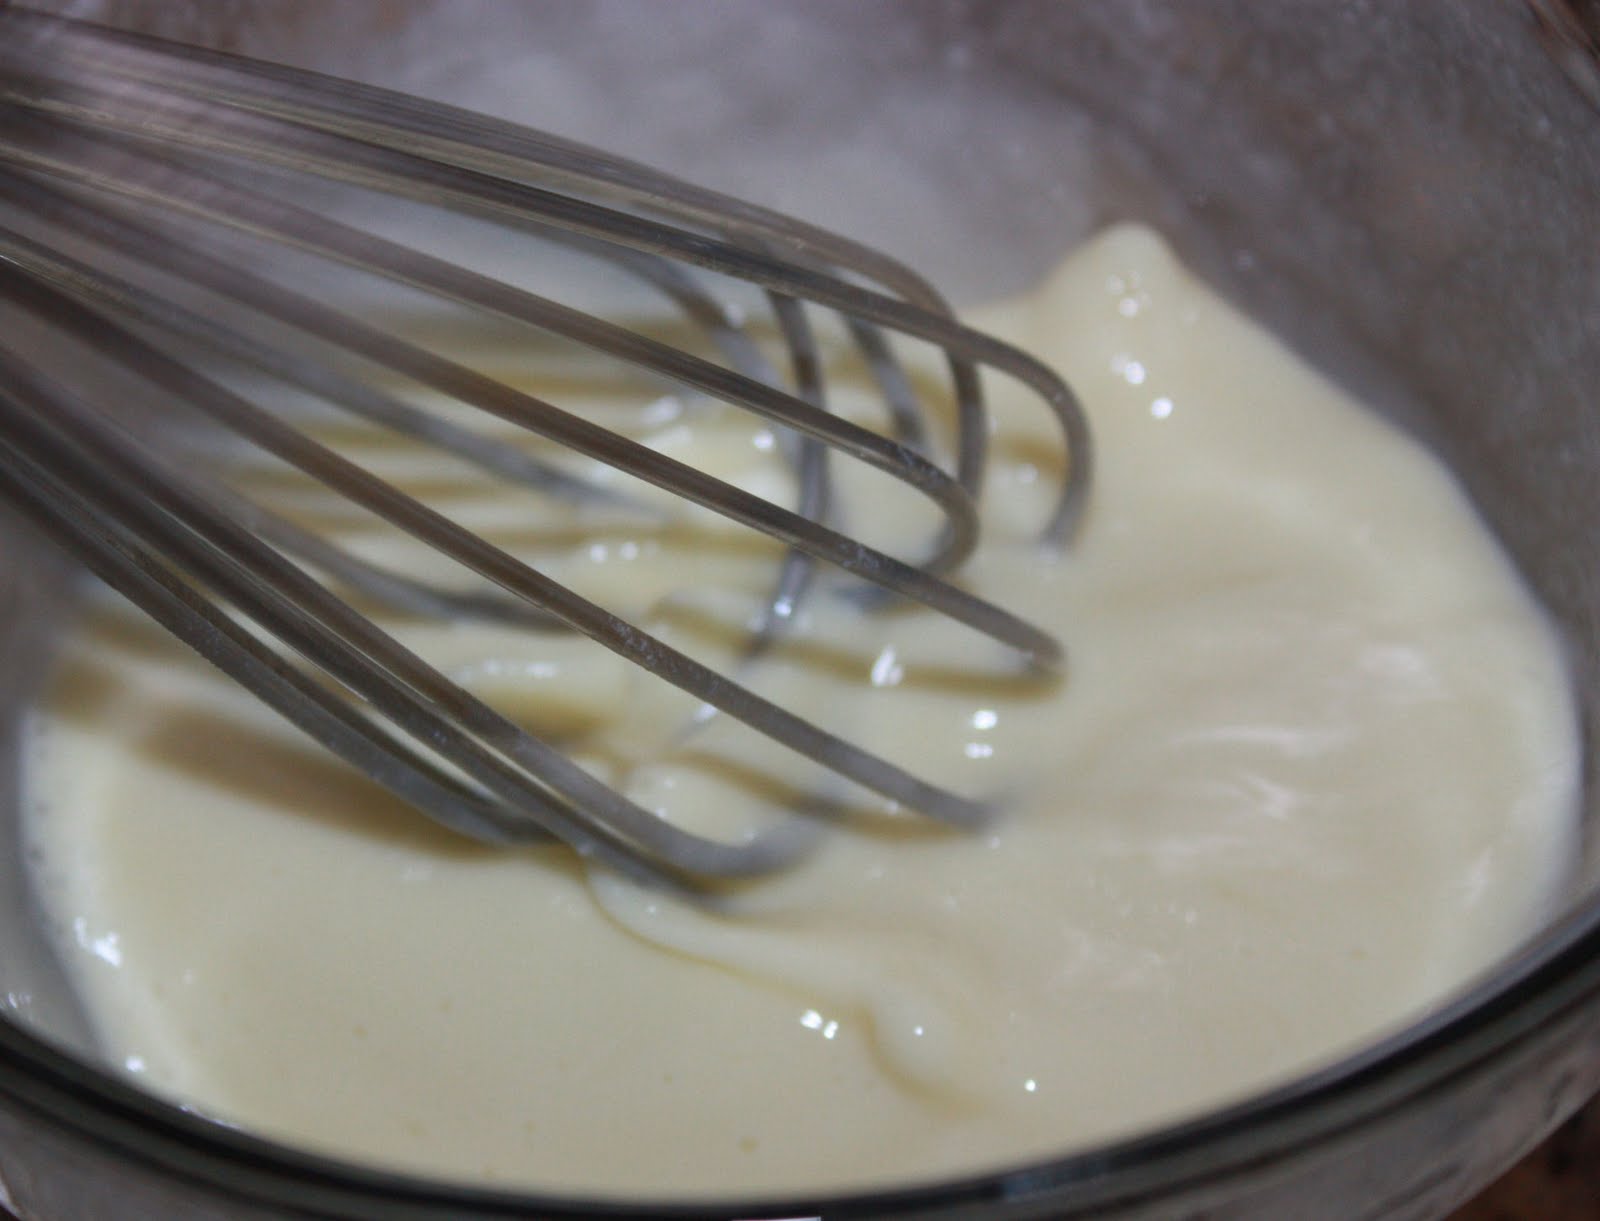
whisk them around

gradually add dice cubes of butter

gradually adding wet ingredientsn to butter and dry ingredients mixture

SO-MUCH-COCONUT!

This is what makes the cupcakes amazing

See how dense the batter is?

This is what I used for icing.  Whipping cream, coconut flav and teeny bit of superfine sugar

Just a small amount.  It whips up nicely.

These are lightly done.  Mommy can't risk burning these or my kids won't touch them with a 10 foot pole.

Icing almost complete

SOMEBODY got some cooling racks!

This is what they'll look like dipped in coconut

But be sure to whip your whipped topping to a stiff consistency to hold all that coconut on

Proud to say I took this picture with my chin.

Dip in a bowl of coconut.  Fluff coconut between dips.

PERFECTION

For variety, I piped some whipped cream onto half and sprinkled with coconut for a more mild coat.

The finished batch!

The biggest fan of these cupcakes

My son testing one out

This little lady proceeded to crumble it and throw it all over the floor. 
Don't let that stop you from trying these out.  They're great, despite her masacre of the cupcake.