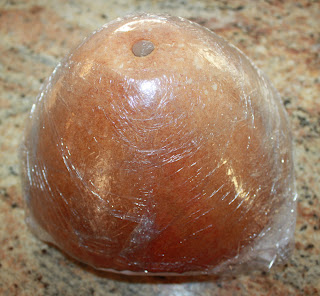
The first phase of my practice is determining if I can make this cake with success. My main challenges are: Will the cake stick? (Not at all, as long as you grease and flour well. Even the center piece slid out with ease for me) How much batter to use? (If you add more than one box, you can cut the cake while it is in the pan still by lining your knife up to the top of the pan and shaving off the curved top to create a nice, flat platform. In my case, I need a petite dress and one box was plenty) And how long to cook it for? (At least an hour)
For this first try, I used a white cake mix. The instructions found on the Wilton site say to use one mix. I'm no dummy so I read plenty of reviews first that said the pan needs 2 mixes and lots of cooking time. Another tutorial on youtube recommends sticking with less batter, and adding a 9 or 10 inch round to the bottom. In my case however, my Dora accessory is small and I may end up shaving the bottom off of the skirt to cut this cake to size. There was no time to decorate today, so instead I shrink wrapped it while warm to seal in the flavour.
When all was said and done, the came came out beautifully. I'm sure that I would be open to cutting and stacking round cakes to create a skirt if I HAD to. But I've got this handy pan now and it saved me oodles of time not having to layer cakes. I like the flexibility of being able to build it up with an additional 9" round beneath it if needed, or shave it shorter for a petite dress. The Wilton website has so many cake design ideas that can be done with this pan which makes it a wise investment. In my case the pan was free, and I love FREE! Now I just have to figure out the best way to cut a wider hole in the middle in order to fit a full sized barbie in there, instead of a half bodied doll with a stick bottom. What little girl wants a creepy half-barbie in her cake?
Here is the process:
 |
| Assembled, washed and dried my Wonder Mold Pan |
 |
| Sprayed it all with Pam and floured it |
 |
| Laid the Paper on top of the pan, put the cooling rack on the paper and then inverted the pan and the cake came right out with no assistance required. |


No comments:
Post a Comment